Blog
How to Clean Air Fryer the Right Way
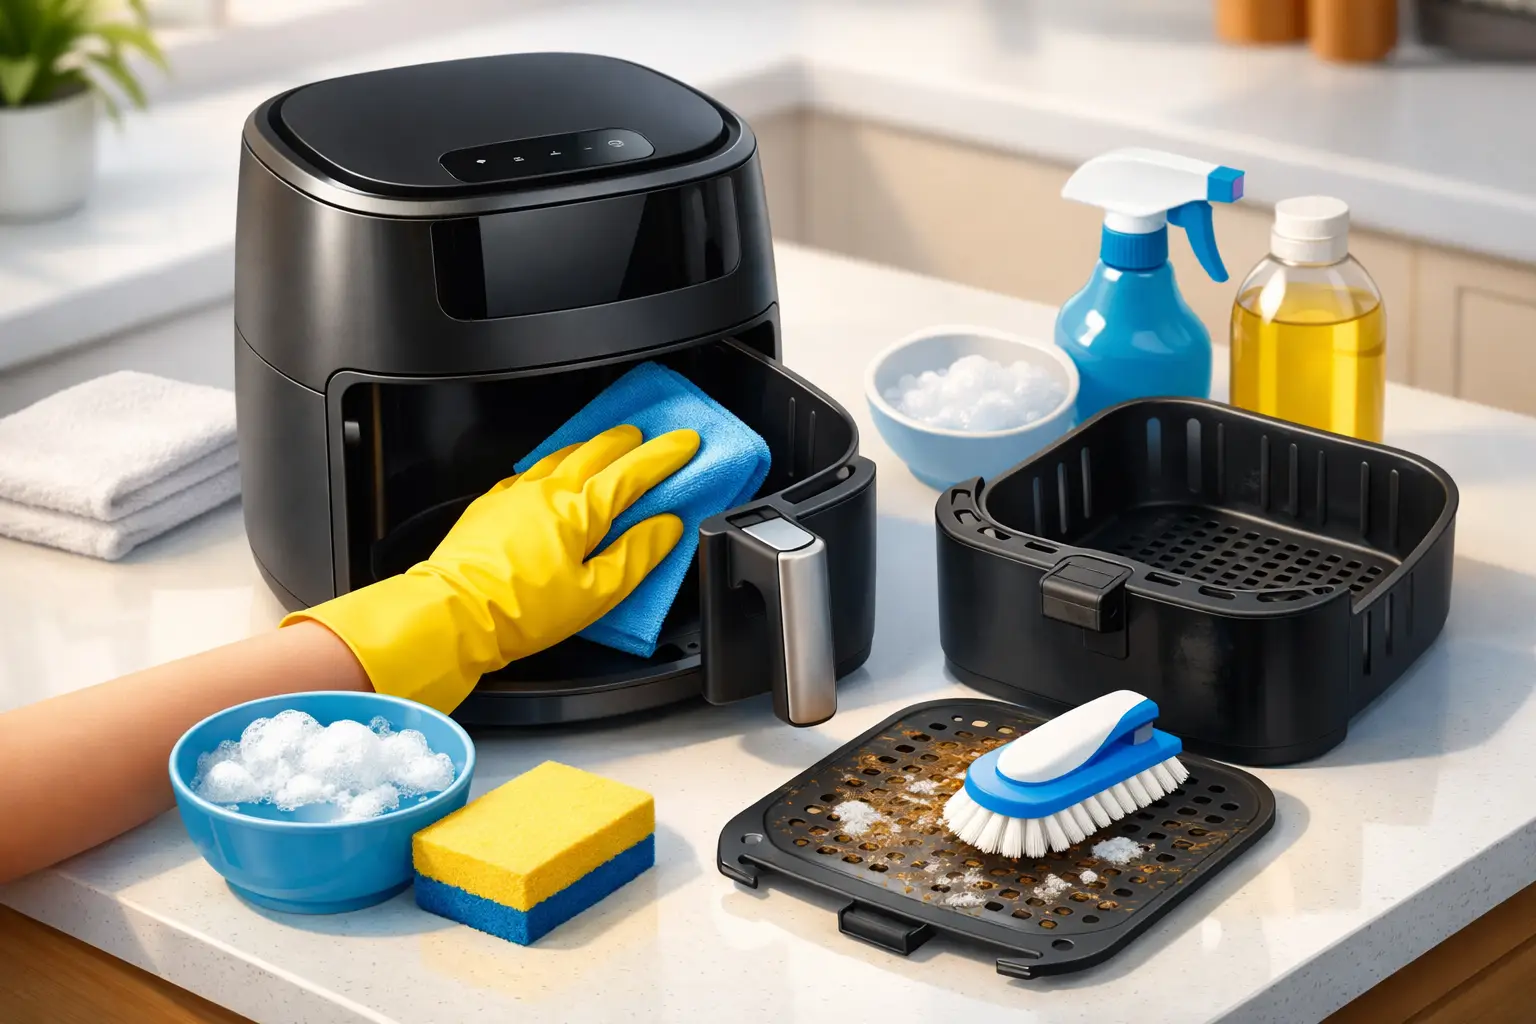
That burnt smell after a quick batch of fries usually has nothing to do with the food. It is often old grease, crumbs, or sauce residue heating up again. If you are wondering how to clean air fryer parts properly without damaging the coating, the good news is that the job is simple when you do it in the right order.
Air fryers are built for convenience, but they also collect oil faster than many people expect. The basket catches drips, the drawer traps crumbs, and the heating area can build up splatter over time. When cleaning is delayed, performance can drop, smoke can appear during cooking, and flavors can start to mix. A clean air fryer cooks more evenly, smells better, and usually lasts longer.
How to clean air fryer parts without damage
The biggest mistake people make is treating an air fryer like a regular cooking pot. Strong metal scrubbers, harsh chemicals, and soaking the whole unit can damage nonstick surfaces or affect electrical components. A safer method is simple, gentle, and consistent.
Start by unplugging the unit and letting it cool fully. If the basket or tray is still hot, grease will smear instead of lifting away. Once cool, remove the basket, tray, or crisper plate, depending on the model. Wash these removable parts with warm water, mild dish soap, and a soft sponge. If food is stuck on, let the parts soak for 10 to 15 minutes first. In most cases, that is enough to loosen residue without hard scrubbing.
Wipe the inside of the drawer cavity with a damp cloth or non-abrasive sponge. You are not trying to flood the appliance with water. Just lift the thin film of grease and any loose crumbs. Then dry it with a clean towel.
The heating element area needs more care. Turn the appliance upside down only if the manual allows it and the unit is fully cool. Use a soft damp cloth or soft brush to remove grease spots from the upper interior and around the heating coil. This area should never be scraped aggressively. If residue is baked on, a cloth with warm soapy water held against the spot for a minute usually works better than force.
Finish by drying every part completely before reassembling. Even small amounts of trapped moisture can lead to odor or affect the next cooking cycle.
Daily cleaning vs deep cleaning
If you use your air fryer often, quick cleaning after each use saves a lot of effort later. For everyday cooking like frozen snacks, vegetables, or breaded items, a basic wash of the basket and tray is usually enough. Wiping the interior every few uses also keeps grease from building into a sticky layer.
Deep cleaning is different. It is best for units that cook oily foods regularly, such as chicken wings, sausages, or marinated items. In those cases, grease can collect above the basket and around the fan area much faster. A deeper clean every one to two weeks makes sense for heavy use. For lighter use, once a month may be enough.
It depends on what you cook. Dry foods leave crumbs. Fatty foods leave residue. Sweet sauces can caramelize and harden. If you notice smoke, stronger odors, or visible splatter near the top interior, do not wait for your next scheduled clean.
What you need
You do not need specialty products. Mild dish soap, warm water, a microfiber cloth, a soft sponge, and a soft-bristle brush handle most cleaning jobs. For stubborn buildup, a paste made from baking soda and a little water can help, especially on removable parts. Apply it lightly, let it sit briefly, and wipe it off without scratching.
Avoid oven cleaner, bleach, and steel wool. These may seem faster, but they can damage coatings and leave residues that do not belong anywhere near food.
How to handle stuck-on grease
Grease is easiest to remove before it hardens. If you have let it sit too long, do not attack it with force. Soak the basket or tray in warm soapy water first. Then use a soft brush to work into corners and perforations.
For the inside surfaces, a cloth dipped in warm water with a small amount of dish soap is usually enough. If grease is thick, wipe once, rinse the cloth, and wipe again. Repeating a gentle pass works better than one rough pass that scratches the finish.
If odors remain after cleaning, place a small amount of lemon juice on a cloth and wipe the removable basket area, then wash again with mild soap. Do not pour acidic liquids directly into the appliance body.
How to clean air fryer after messy foods
Some meals create more cleanup than others. Breaded chicken, glazed wings, cheese-topped snacks, and marinated items tend to leave behind sticky residue. In these cases, clean the basket as soon as it is safe to handle. Waiting until the next day usually means more scrubbing.
A liner can reduce mess, but it is not a complete solution. Oil still circulates, and splatter can still reach the drawer and upper interior. Liners help with convenience, not full maintenance. If airflow is restricted by a poorly fitted liner, cooking performance can also suffer. That trade-off matters if you want crisp results.
For especially messy cooking, check the heating area after every use. A few grease spots up top may not seem serious, but once reheated several times they can start producing smoke or smell burnt.
Mistakes that shorten air fryer life
One common mistake is putting the main unit under running water. Only removable, washable parts should go near the sink. The outer body and interior housing should be cleaned with a damp cloth, never soaked.
Another mistake is cleaning too aggressively. Nonstick baskets are practical and easy to maintain, but they do need gentle treatment. Scratches can make future cleaning harder and may reduce the lifespan of the basket.
Many users also ignore the outside of the appliance. Handles, control panels, and air vents collect dust, fingerprints, and kitchen grease. Wiping the exterior keeps the unit looking presentable and prevents grime from building around buttons and vents.
Finally, do not reassemble the fryer while parts are still damp. That can trap moisture and create musty odors. A few extra minutes of drying is worth it.
Keeping your air fryer clean for longer
Good habits reduce deep-cleaning time. Empty crumbs after every use. Wash the basket before residue hardens. Avoid overfilling, especially with oily or saucy foods that are more likely to splatter. If food drips heavily, check the drawer beneath the basket instead of assuming the mess stayed contained.
It also helps to cook with the right expectations. Air fryers are fast and convenient, but they are compact appliances. High heat in a tight space means grease and food particles circulate quickly. Regular cleaning is simply part of getting reliable performance.
For busy households, offices, or buyers outfitting multiple kitchens, ease of cleaning should always be part of the purchase decision. Removable nonstick baskets, accessible drawer designs, and dependable build quality make a real difference in day-to-day use. That is one reason practical appliance buyers often look for models that balance cooking power with easy maintenance, official warranty support, and dependable local availability, which is exactly the value many shoppers look for at Perfect Bazzar.
When cleaning is not enough
Sometimes the issue is not dirt alone. If your air fryer continues to smoke after a thorough clean, the basket coating is badly worn, or the unit heats unevenly, the appliance may have a component problem rather than a cleaning problem. In that case, forcing it through daily use is not the smart move. A warranty-backed model gives you more peace of mind when maintenance no longer solves the issue.
A clean air fryer does more than look better on the counter. It protects flavor, supports cooking performance, and helps you get the convenience you paid for every time you switch it on. Clean it gently, clean it regularly, and your next meal will taste like the food you made, not the last three batches before it.